Planning & Resources
Tent Lighting Guide
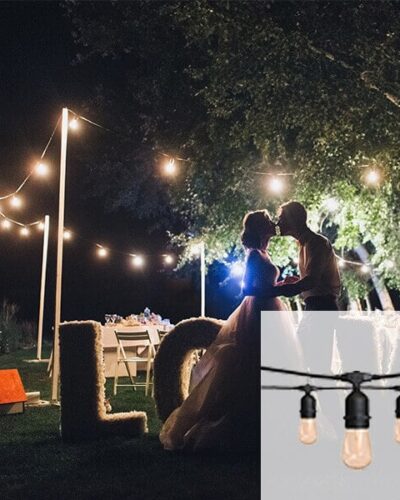
Everything you need to choose the right string light layout for your tent, learn what materials you'll need, and see step-by-step setup instructions.
Step One
Choose Your Light Style
Before selecting a layout, choose between our two string light options. Each creates a distinctly different ambiance for your tent event.
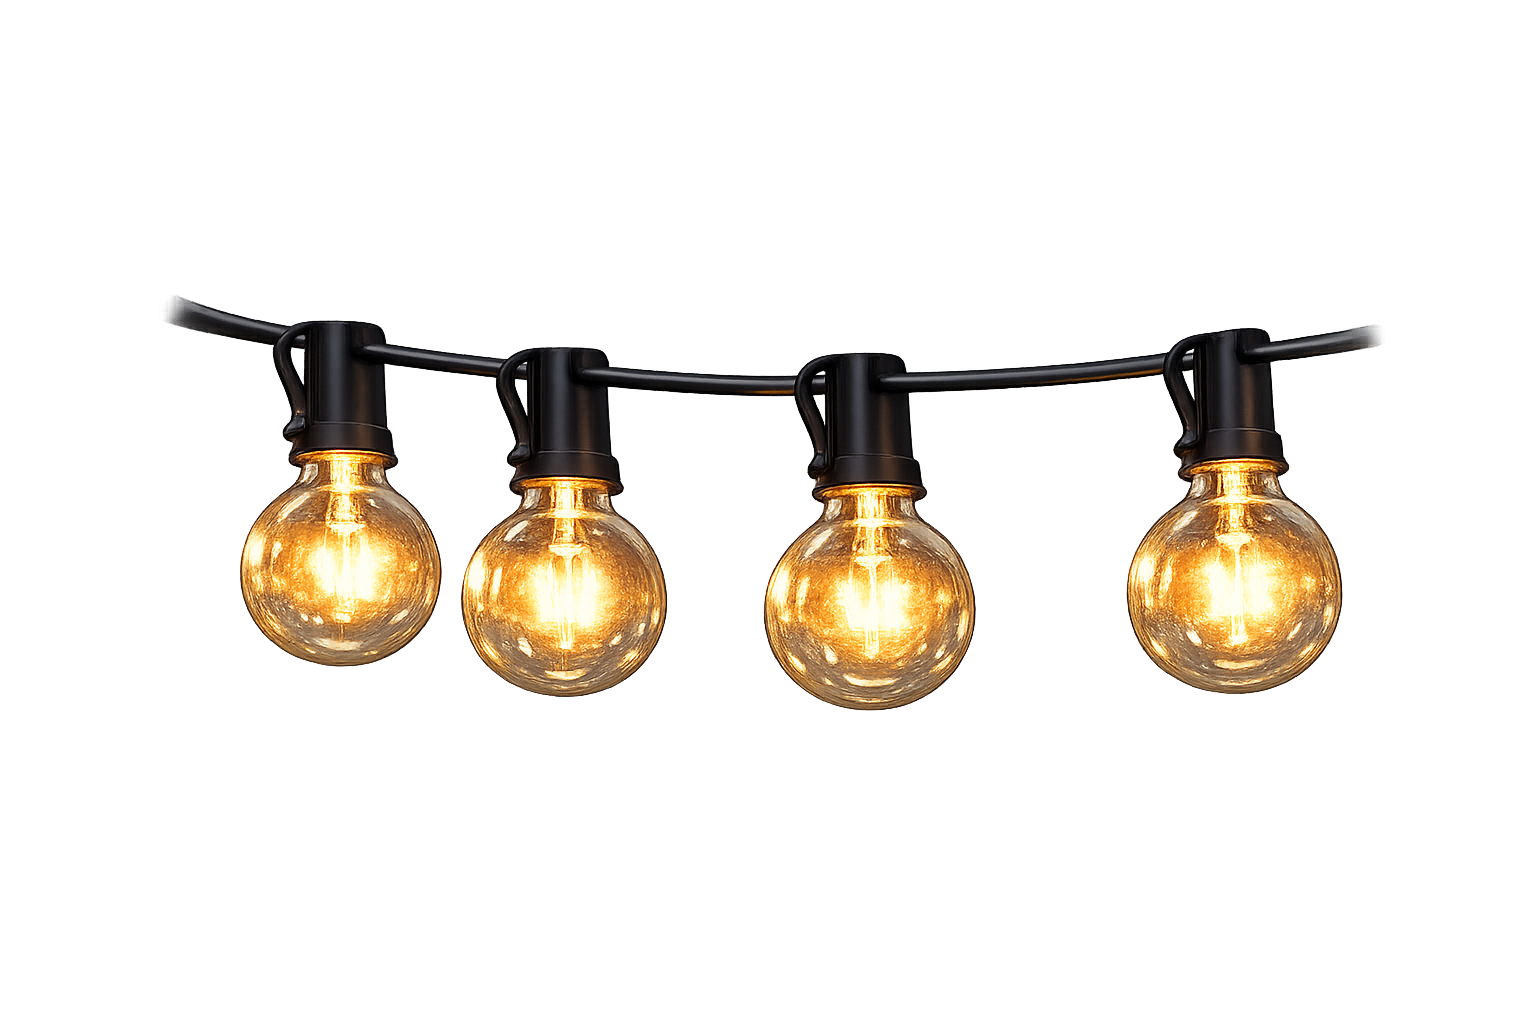
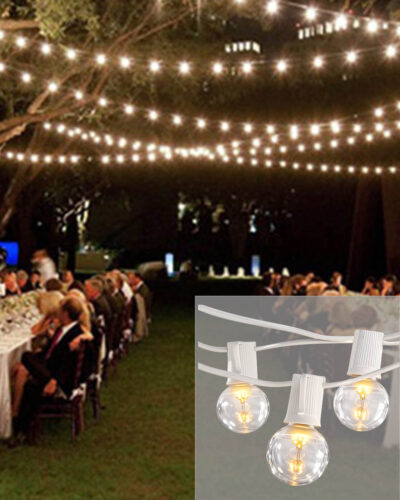
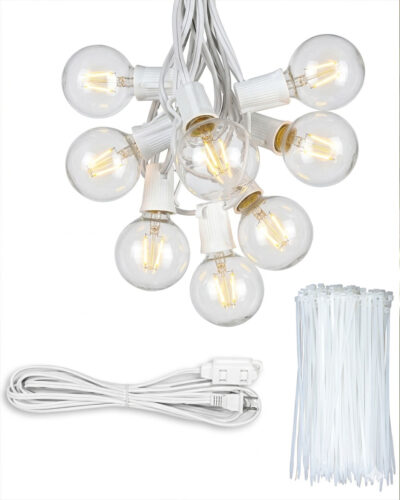
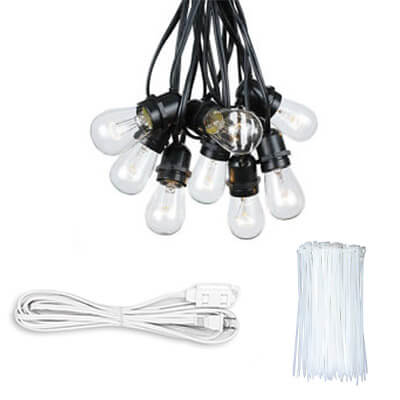
Globe Lights
- Classic round white bulbs
- Soft, diffused warm glow
- 8" spacing between bulbs
- Elegant, timeless aesthetic
- Most popular for weddings

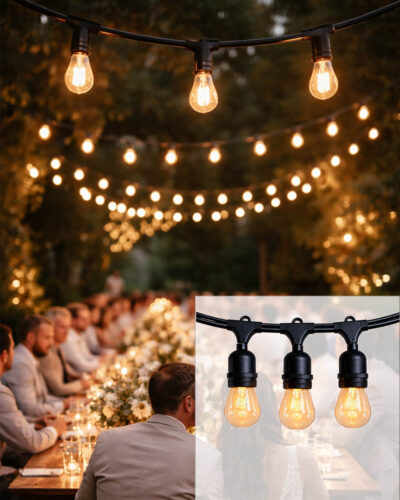
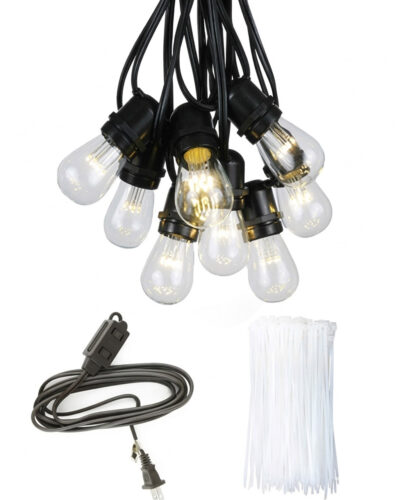
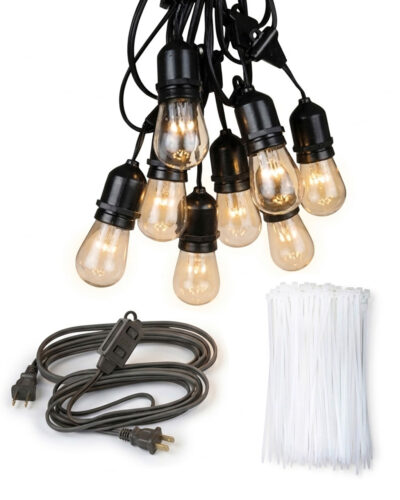
Edison Lights
- Vintage exposed-filament bulbs
- Warm amber directional glow
- 12" spacing between bulbs
- Rustic, industrial character
- Great for barn & garden events
Step Two
Choose Your Layout
Each layout creates a different look and level of coverage. Browse the options below, then select Globe or Edison to see sizes and pricing.
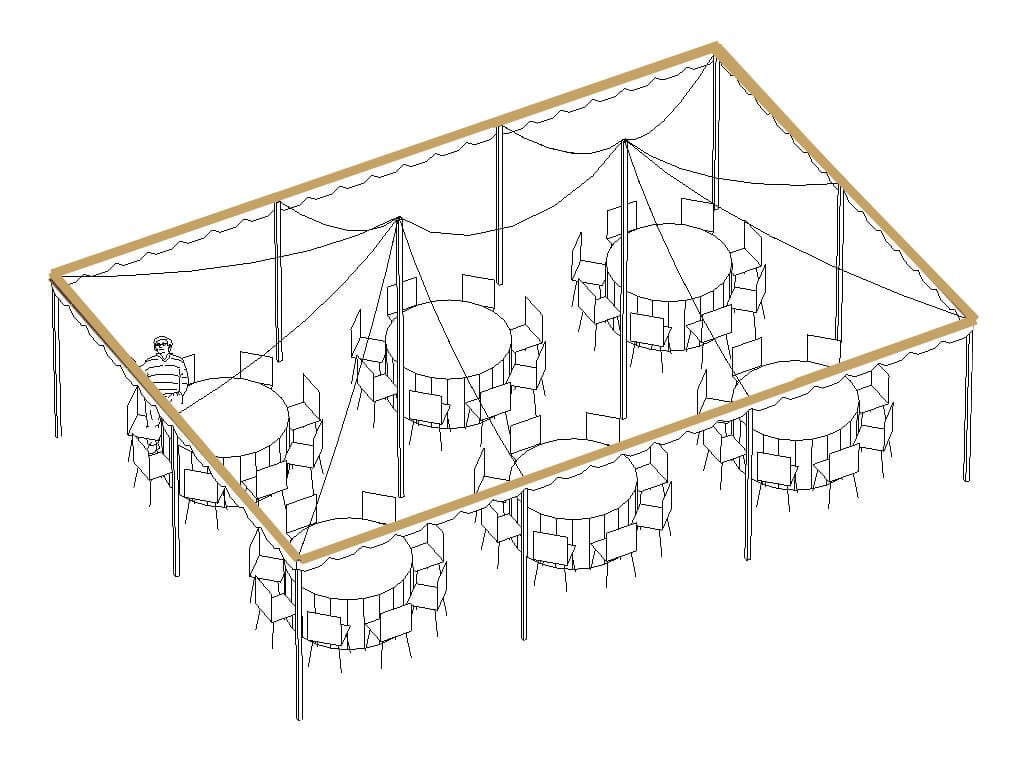
Layout 01
Perimeter Lighting
String lights run along the inside edge of the tent frame, creating a beautiful border of light. This layout is ideal for tents where you want ambient lighting around the edges while keeping the center open for chandeliers or other decor.
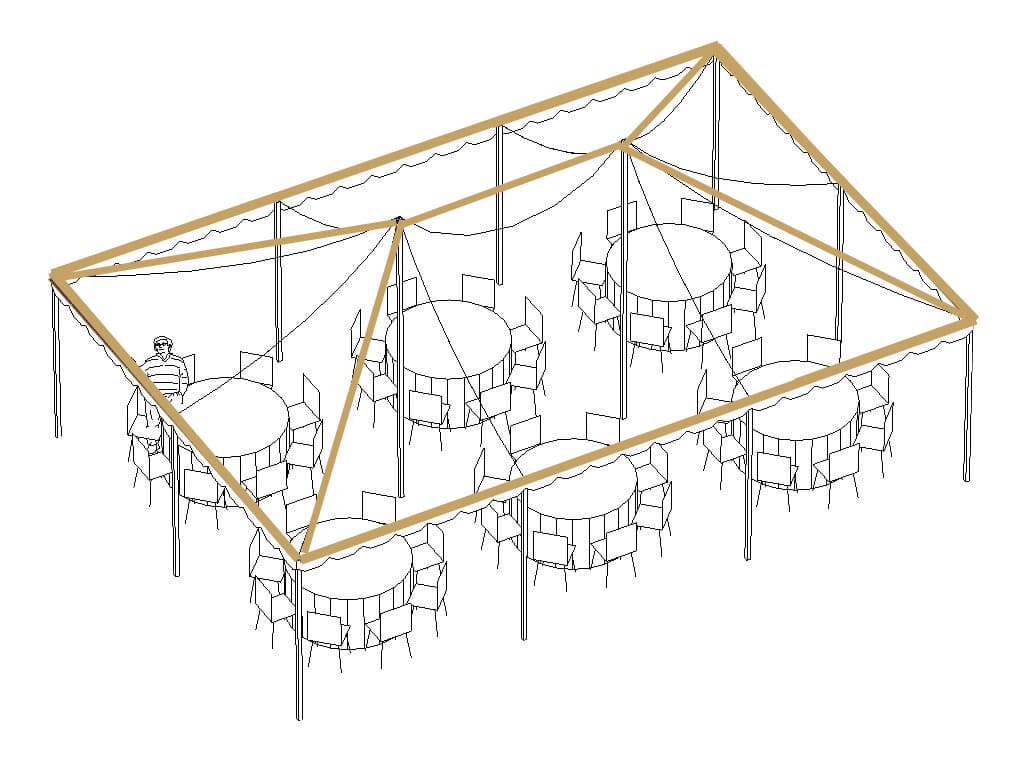
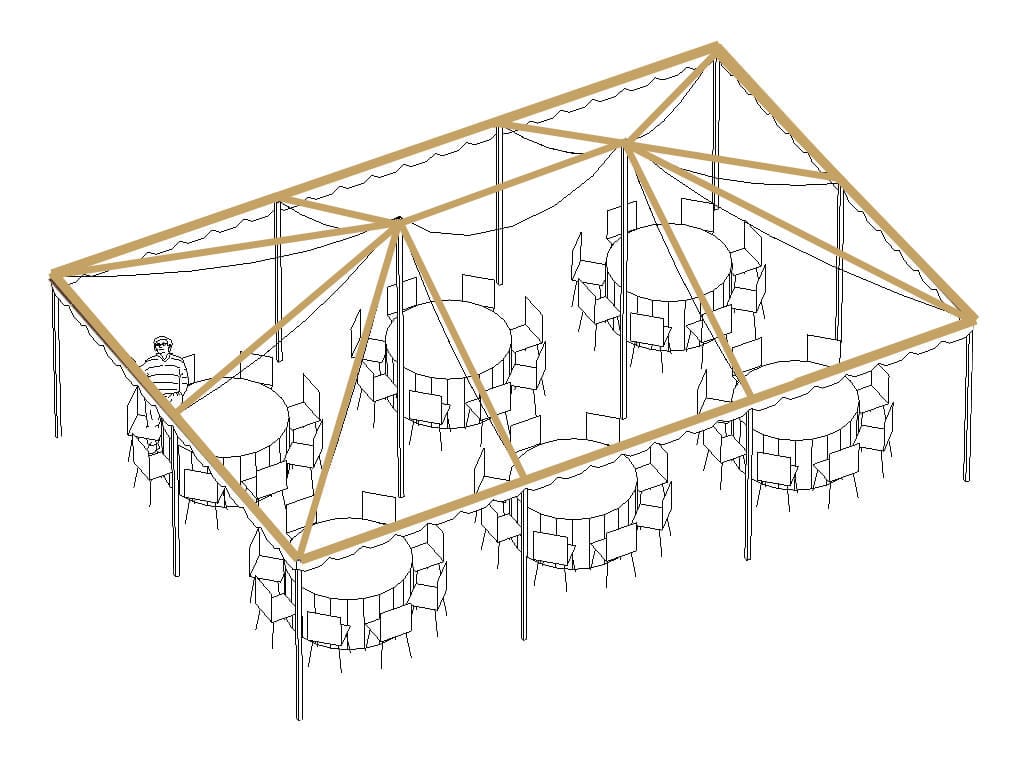
Layout 02
Corner to Peak
Four strands of lights run from each corner of the tent up to the center peak, creating a dramatic starburst effect. This is one of the most popular layouts for its striking visual impact and even light distribution.
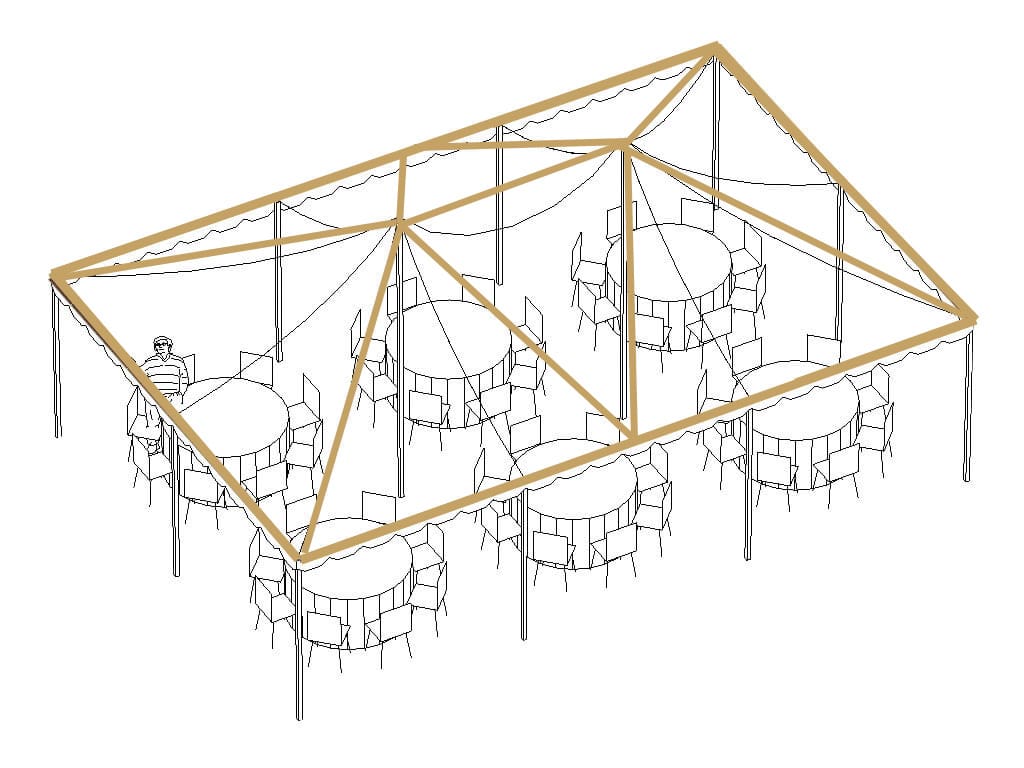
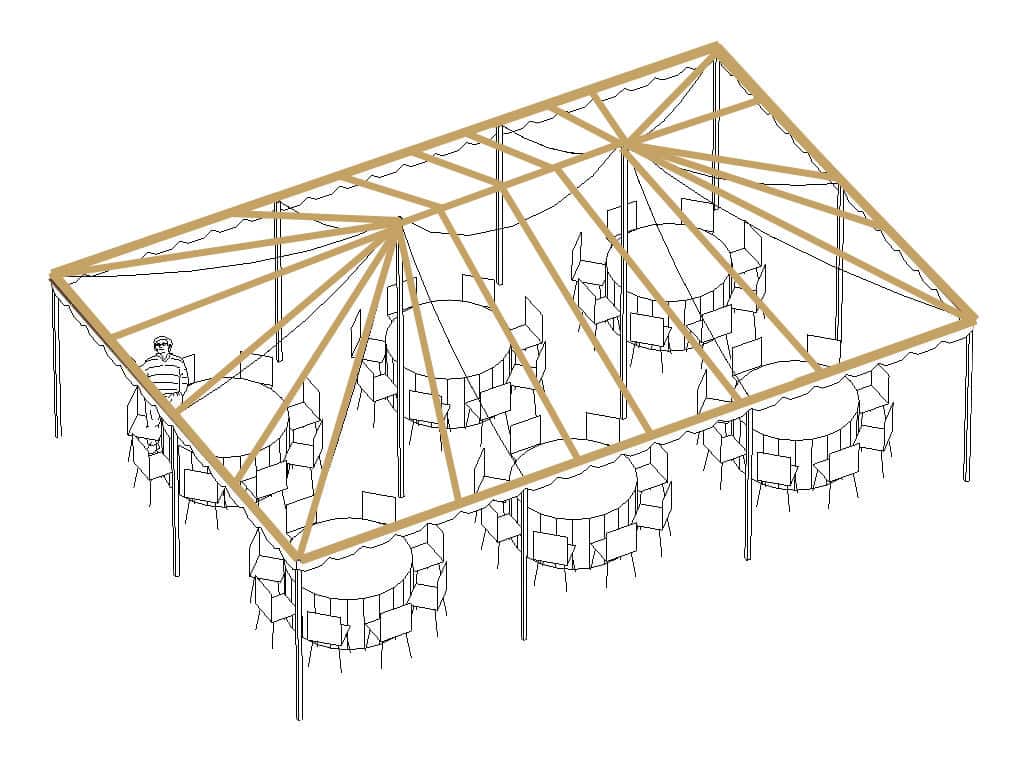
Layout 03
Radial Lighting
Strands radiate outward from the center peak to the midpoints and corners of the tent frame, creating a sunburst pattern. This layout provides more light coverage than Corner to Peak and creates beautiful symmetry overhead.
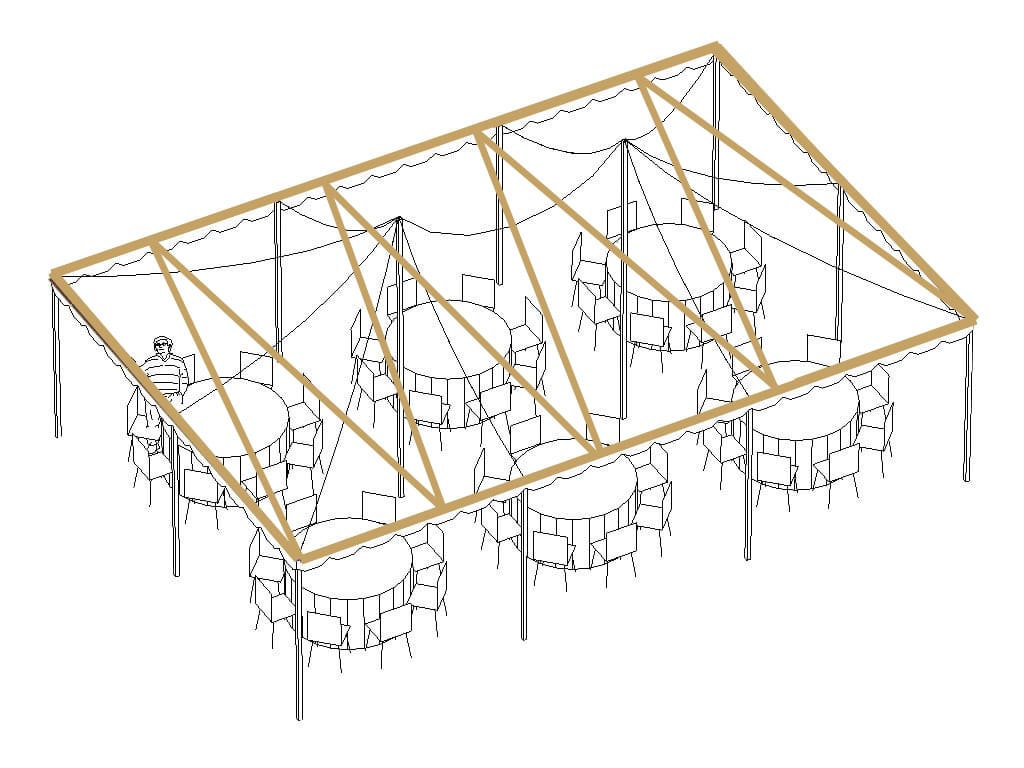
Layout 04
Zig Zag Lighting
A continuous strand weaves back and forth across the width of the tent, creating a dramatic zig-zag pattern overhead. This layout provides excellent, even light distribution and works especially well in longer rectangular tents.
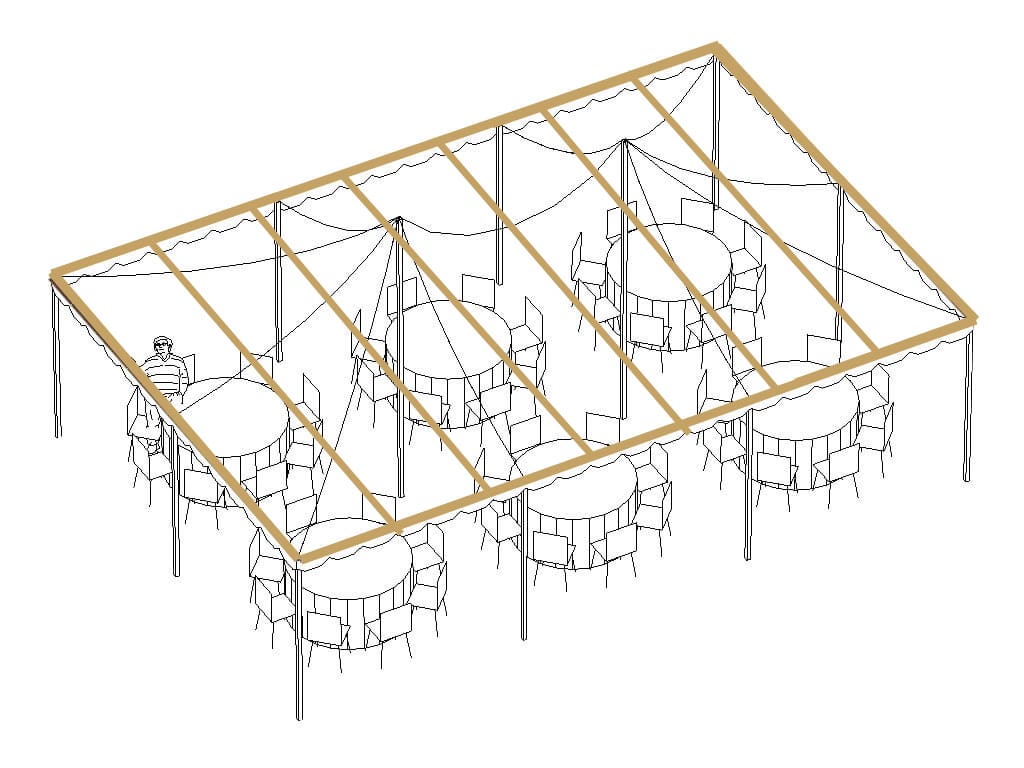
Layout 05
Parallel Lighting
Straight lines of lights run parallel across the tent, creating clean, modern rows of illumination. This contemporary layout delivers even light coverage and pairs beautifully with long banquet-style table arrangements.
Layout 06
Deluxe Tent Lighting
The best of both worlds — perimeter lighting combined with corner-to-peak strands. This premium layout provides full coverage with lights framing the tent edge while dramatic lines converge at the center peak.
Layout 07
Full Canopy Lighting
Maximum coverage — closely spaced parallel strands blanket the entire tent ceiling with light. This creates a breathtaking canopy effect, transforming your tent into a luminous space. Perfect for events where lighting is the centerpiece of your decor.
What You'll Need
Materials & Equipment
Here's what you'll need on hand to install your tent lighting. Most items are inexpensive and available at any hardware store.
Zip Ties
For securing strands to the tent frame and bundling cables.
Extension Cords
Commercial-grade cords to reach your power source.

Electrical Tape
For weatherproofing connections and securing loose ends.
8-Foot Ladder
Required for reaching the tent frame and center peak.
Installation
Setup Guide
Click any layout below to see an animated walkthrough of the installation sequence.
01
Perimeter Lighting
View Setup →02
Corner to Peak
View Setup →03
Radial Lighting
View Setup →04
Zig Zag Lighting
View Setup →05
Parallel Lighting
View Setup →06
Deluxe Tent Lighting
View Setup →07
Full Canopy Lighting
View Setup →A La Carte
Not Looking for a Full Tent Package?
You can also rent our string lights individually — just choose your style and length.